Hi, everyone.
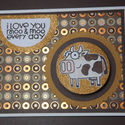
The card below was inspired by
Operation Write Home's Polar Bear Tutorial and
photos
of adorable baby polar bears in ice caves. I have to say I am THRILLED with the way this little guy turned out. :)
 |
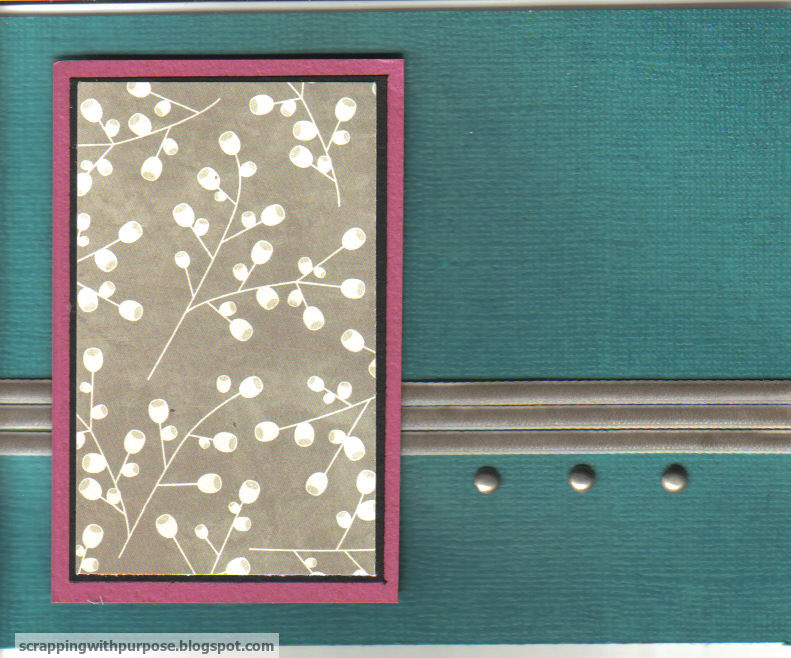
Distress Ink core paper; cardstock: Bazzill black, AC white
Cuttlebug embossing folder
punches: EK hole, Paper Shaper circle, Recollection snowflake
Creative Memories oval cutting system
pens: Uniball white, Micron black; tool: Staedtler bendable ruler
techniques: paper piecing and fussy cutting |
While this digital picture is one of my better efforts, there are a few details that don't show up. The red core paper around the borders was embossed, and lightly sanded, using a Swiss dot embossing folder. Also, the outlines of the bear cub and the Santa hat were lightly inked using blue and black shades of Distress Ink, respectively.
Speaking of the Santa hat, Microsoft clip art images were used to make the hat and candy cane. After images were printed, they were cut out to use as templates.
If you haven't seen a Staedtler bendable ruler, you might want to check them out. A good friend gave me one a while ago, and I it comes in handy at the most unexpected times. For this card, I used it to outline the "cave" opening so I didn't get too tear-crazy.
Parting Thoughts
I'm hoping that this little cub brings a big smile to the face of one of our troop's little ones.
And, I'm thinking this could be a popular card at this season's craft fairs. Just need to find a way to keep the cuteness -- and attention to detail, while streamlining the process. Trust me, this little guy was pretty labor intensive... but definitely worth the effort! I couldn't be happier with this little bear cub. :)
Thanks for stopping and happy scrappin'!


.jpg)
