Showing posts with label love card. Show all posts

Thursday, December 12, 2013

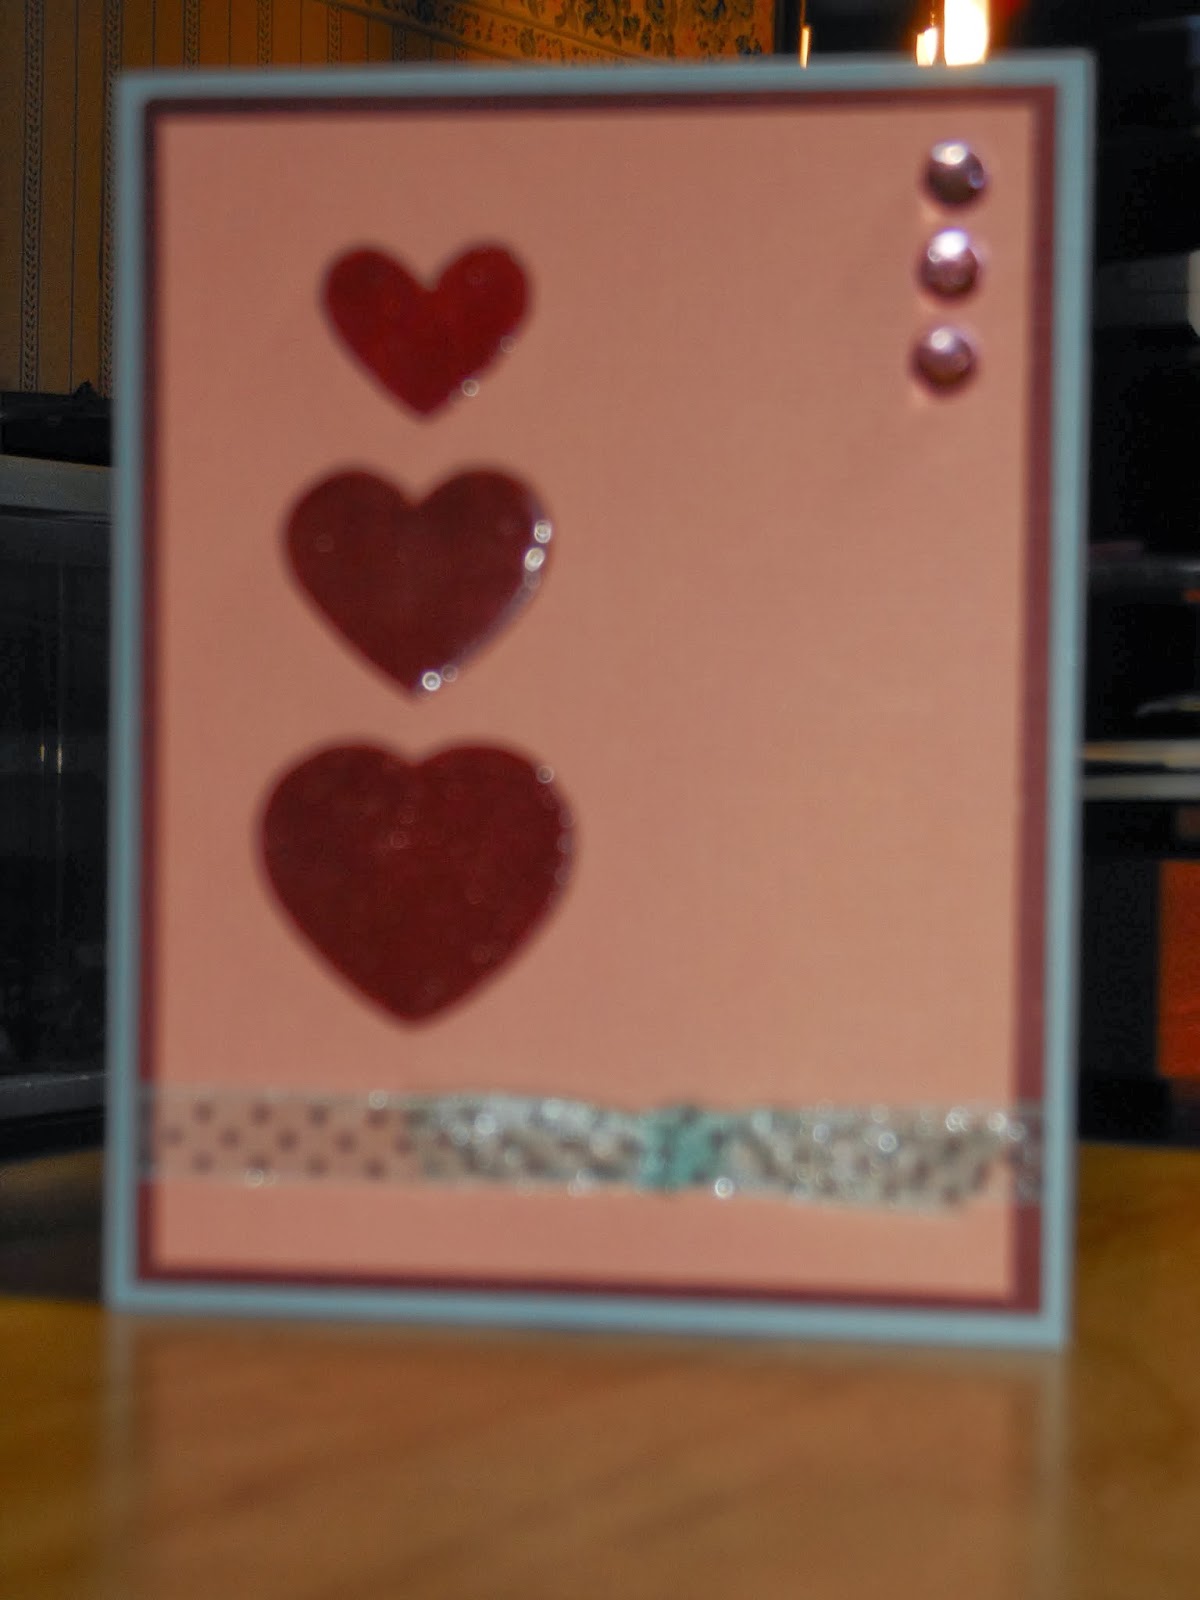
3 Little Hearts, Lots of Love

Hi, everyone.

A quick post for a love card inspired by this week's OWH Midweek Throwdown to make a non-Valentine love card.

Distress Ink core paper; EK 3-heart punch
Celebrate It! ribbon; Glossy Accents; gems
Tombow adhesives

Kept this one simple... maybe too simple. After I had attached the ribbon and adhered the 3 hearts, I was really thinking the card needed more... and wishing I had done some embossing. So, I added a layer of glossy-accented hearts. Then I decided to add a little more bling.

I kept hearing Paula's bootcamp instructions on this one -- adding a third (10%) color of blue that was not in the original plans, giving great care when it came to the placement of the hearts, and really contemplating whether to add the gems. Thanks, Paula!

Hope it brings a big smile to a loved one's face. Think this one could even go to a tweener or teen.  :)

Thanks for stopping and happy scrappin'!

Monday, November 11, 2013

Bee Mine

Hi, everyone.

For those of us who make cards for Operation Write Home, Veteran's Day is bittersweet. A heartfelt thanks to those who have served and sacrificed for our country.

This month's Our Daily Bread Design OWH challenge is to make a love card. Yes, while the rest of the world is thinking turkey and pumpkin pie, OWHers are thinking Valentine's Day cards for our troops.

Paper Smooches stamp set, heat embossed in Distress Inks
Distress Ink core paper, embossed with Sizzix folder

The card above was inspired by a technique learned in one of Bernadette's Stampin' Up! classes -- making a waterfall card. Honestly, my brain is too fried from today at work to even begin to try and explain the card. But, if you're interested in learning more about waterfall cards, a quick Google search will turn up some videos. :)

The images below show the panels that pulling on the tab will reveal.


Since this card is going to a troop to write home to a loved one, I wanted to include a little writing room. The image below shows the back of the card.


What's not to love about a card that combines Paper Smooches stamps, Distress Ink core paper, Distress Inks, and embossing?!

Think CAS-ual Fridays has an embossing challenge going on -- and Paper Smooches has a guest designer challenge. If so, this little card might just end up on both of those sites.

Parting Thoughts

So glad I was able to get a card made for the ODBD challenge. Would hate to miss that.

Thanks for stopping and happy scrappin'!

Friday, June 28, 2013

Zing, Zing, Zing

Hi, everyone.

The card below was inspired by two challenges: this week's OWH Midweek Throwdown challenge to make a CAS card and this week's CAS-ual Fridays challenge to make a card featuring an arrow.

Distress Ink core paper, Bazzill black
computer-created arrow, computer-generated font (Harlow)
large heart: hand-cut with template, small heart: EK triple heart punch
Stampin' Up! brads; Sizzix embossing folder; Zot 3D glue dots


Since this was going to OWH, I embossed the background cardstock to give the card a little more texture. I initially tried embossing the larger circle using a different folder. But, the pattern didn't feel right with the arrow. So, I went with two plain hearts.

Parting Thoughts

Hoping to visit some blogs and leave some comments this weekend. Also hoping to find some time to make a few more cards.

Have a great weekend!  Thanks for stopping and happy scrappin'!

Saturday, June 1, 2013

Heart Prints in the Sand -- UPDATED

Hi, everyone.

[From 6/5/2013]
Okay, it's probably cheating. But, when I saw today's Midweek Throwdown challenge was to make a card involving water, I opted to post this little card again. It's not that I wouldn't love to make another one of these, but I have been so busy with hubby's retirement card and a Father's Day card for my dad.... So, I jumped at the chance to recycle these little heart prints. 

Have a good rest of the week!

[From 6/1/2013]
Two posts in one day!!!!  Found a little time this afternoon to make a card featuring water for this month's  OBDB Challenge for OWH. For those of you new to OWH, Our Daily Bread Design is a fabulous supporter of OWH. One of the many ways in which this wonderful company supports OWH is to pay shipping charges based on the number of cards linked to their monthly challenge: 1 box for 25 linked cards, 2 boxes for 50 linked cards.

dp: used sandpaper from Karen Foster Designs that I've had forever
cardstock: Distress Ink core , AC (brown), Cardstock Warehouse Paper Company (navy)
EK triple heart punch; sentiment stamped in SU Night of Navy
champagne colored heart gems that I've had forever
other tools: distresser, sanding block, bendable 'ruler' from Staedtler

This is a card that's been living in my head for a while now. I just wasn't sure how to pull it off. I have to admit I'm pretty pleased with the way this turned it out.

The wet-sand hearts were created by heat embossing a strip of the used sandpaper dp with Distress Ink embossing ink and American Crafts ZING clear embossing powder. I debated over heat embossing the sentiment, but finally decided to stamp it in navy -- to complement, rather than distract from -- the embossed hearts. Finally, I decided to place navy hearts behind the embossed hearts to pop them just a little bit more.

Parting Thoughts

One card down, two more to go.

If you're lucky enough to win ODBD blog candy, you're in for a real treat. I was one of the lucky winners
and choose the gingham background stamp used in the card at the right as part of my prize. Thanks again, ODBD!

Enjoy the rest of the weekend. Thanks for visiting and happy scrappin'!

Saturday, March 16, 2013

Got Chipboard?

Hi everyone,

Today's cards were made for this week's CAS-ual Fridays challenge to make a card using chipboard. I actually played with two different ideas. While I'm pleased with both results, I won't be sending either card to Operation Write Home -- the first one because of the glitter and the second because of its sentiment.

Card 1: 24-7

The inspirations for this card were the sentiment, which I had seen on another card somewhere before, and a set of silvery-glittered alphabet/number stickers.

Distress Ink core, heat embossed with Distress Ink and Stamp N Stuff silver powder; stash silvery cardstock
Tools: Sizzix ef, circle template, The Paper Studio circle punch, the new Stampin' Up! trimmer;
adhesives: 2-way glue,  mini glue dots, pop up glue dots

The heat embossing was done by first applying embossing ink to the inside of the embossing folder. The heart's scalloped edge was a final embellishment because the card felt like it needed a little something more. After playing with ribbons, gel pen accents, and metallic paper twist, I settled on this scalloped effect. The scalloped edge is actually a series of punched circles, punched from some yummy silvery cardstock. They added the extra oomph this little heart seemed to be missing.

I know that the elements are a little more fussy than what you typically see on CAS cards, but the layout is CAS-inspired. So, I'm calling it CAS and sticking to my story. LOL

A note to my fellow OWHers: I applied the stickers downstairs -- far away from the craft room -- and then put the card in a protective cellophane sleeve as soon as it was finished. :)

Card 2: One Day at a Time

This card was actually inspired by a card we made at Thursday night's Stampin' Up! class and by a previous CAS-ual Fridays challenge to create your own background. Wish the colors showed up a little better on this scanned image.

Cosmo Cricket Blackboard; sentiment by Jillian Vance, stamped in StazOn
Distress Ink tumbled glass, scattered straw, dusty concord applied using dryer sheets and a mini mister

black cardstock: Cardstock Warehouse Paper Co, blue cardstock: Distress Ink core

What really excited me about this card is that the background was created with used dryer sheets. I tried several different methods for applying the ink. The method that seemed to work best was rubbing the dryer sheets on the ink pads, misting them with water, and dabbing the ink on the cardstock. (Excess water can be blotted up using a paper towel before applying ink to the cardstock.)

The sentiment was stamped first using StazOn jet black ink. Chipboard images were placed to be pointing skyward, and the yellow ink was purposely placed directly above the higher dragonfly.

Again, I really wish the colors showed up better because I really like the end result of this dryer sheet technique.

Parting Thoughts

Hoping to get a chance to make an Any Hero card for tomorrow's OWH sketch, but there's a pretty long to-do list before I get to crafting.

Still LOVING the new Stampin'Up! trimmer. It is fabulous!!!

Thanks for stopping. Enjoy the rest of the weekend and happy scrappin'!

Sunday, December 2, 2012

Stars of Liberty, Tweet Love, and BOPPERS

Hi everyone,

Hope everyone's had a nice weekend. I've managed a nice work-life balance, which is unusual for me. :)

I have two cards and a craft show update to share.

Stars of Liberty and Tweet Love

I stopped by my favorite LSS, Scrapbook Art, to check out the Black Friday specials. And, I found a wonderful Bo Bunny package filled with Liberty, Crazy Love, and Blast Off! goodies. Often times, these grab bags have some good things, but others not so good. But, this was the perfect grab bag!  Not only was there a 6 by 6 pad of Liberty paper and embellishments, the package was also filled with tons and tons of love and kid themed papers, chipboard, brads, and transfers!!! It was the perfect package for OWH card-making!  Thanks, Terri!  :)

The cards below were made from this great find and inspired by today's Stars and Stamps sketch.

Bo Bunny Liberty paper and layered chipboard
Techniques: crimping, distressing, and inking
Bo Bunny Crazy Love paper and chipboard
Technique: crimping
The chipboard on the first card has that baked-in glitter that seems to be really, really well set. Since, it's triple layered, I thought it would be perfect for an Any Hero card. As far as the sketch is concerned, I went with the chipboard's multiple circles instead of one big one because I just couldn't resist this embellishment. :) In addition, my square is a little larger than the sketch to accommodate the chipboard.

For the second card, I cut out the square from a 12-by-12 piece of patterned paper. Since the image was soooo cute, I left off the big circle and added a few chipboard embellishments.

Craft Show Update

I'm hoping to make a few more cards during the second NFL game. But, everything is set and ready to go -- signage is made, cards are boxed up, ...

In addition to cards, I'm selling {gift} Bag Toppers, aka BOPPERS. If you want to read a little more about these, check out my last post. I'll try to blog about the process for making these adorable little guys next weekend. :)

Think that's about it for now. Thanks for stopping by and happy scrappin'!

Sunday, July 8, 2012

OWH Challenge Cards

Hi, everyone,

I am so excited that I found time this weekend to make two OWH cards -- the first for the Midweek Throwdown and the second for today's sketch challenge.


Midweek Throwdown: A Happy Anniversary Love Card

Okay, I cheated a little bit on this one since I didn't have a Happy Anniversary stamp. But, I love the way the card turned out. I'd certainly be happy to receive it from hubby for our anniversary!

The base card, the chipboard heart embellishment, and the "Love You" and clock hand rub-on transfers came from Bo Bunny's Father Christmas card kit.

Bo Bunny Father Time paper and card making set; garage sale brad

OWH Sketch #128: An Any Hero Card

I cheated on this one, too. Shocking, I know! 

When I saw the sketch, I wanted to use the heart stamp from my new Sweet Stamp Shop God Bless America collection. When the stamped heart turned out a little larger than the sketch's heart embellishment, I thought about going with a few less hearts. But, I really liked the look of the 5 hearts. So, the sizing and spacing are a little different from the sketch, but the basic sketch is the same. [That's my story, and I'm sticking to it! :)]

Bo Bunny Liberty, Bazzill watermelon and admiral; Sweet Stamp Shop image and sentiment; embossing and heat embossing; garage sale brad

In addition to using my new stamp set, I also used my newest embossing folder -- Swiss Dot from Cuttlebug. Accentuating the dots with a gold gel pen was just the final touch this little card needed. I'm hoping one of our heroes will be pleased to receive this patriotic thank you from a grateful American.

Parting Thoughts

I'm looking forward to the day when work slows down enough to allow for:
  • making more cards,
  • leaving comments for my fellow OWHers, and
  • visiting CAS-ual Fridays and Mojo Mondays.
Until then, thanks for your continued support. I really appreciate your visits. Happy scrappin'!